


My name is Grazia, I am Italian, I was born in Apulia but I have lived in Milan for five years, where I moved for studying and working. Today I want to talk to you about "non-bake bread" made with alkaline ingredients.
I am a communication specialist and a teacher. Between content planning and meetings at school, I love experimenting in the kitchen with plant-based cooking.
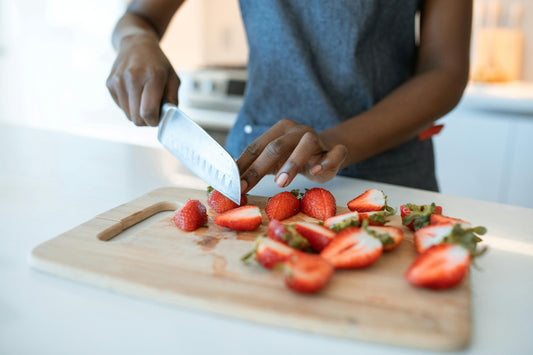
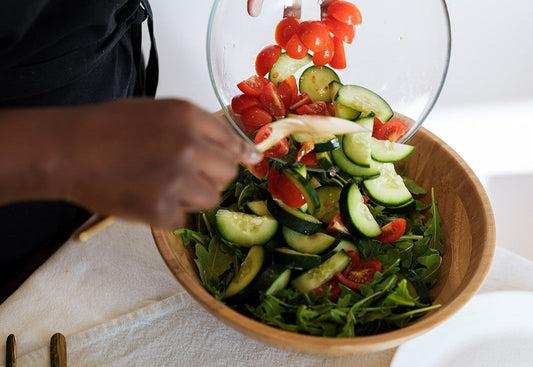
Since 2019, I have been part of a group volunteering in markets in Milan, recovering fruit and vegetables that are edible but discarded for aesthetic reasons. The experience of being part of this group has opened my eyes to the incredible amount of food we waste every day that could be reused to make excellent, nutritious meals. We recover as much as 500 kilos of food a day! Isn't that crazy?
Having so many fruits and vegetables has allowed me to further experiment in the kitchen. Since then, I've been trying to find new plant-based recipes that are easy to make and don't need too much time.
Today I'm excited to share my new non-bake alkaline bread with you.
How can you make bread without baking bread? Read on, and I will explain everything.
Why Alkaline?
Alkaline foods are one of the best ways to take care of ourselves, through the gifts that nature gives us.
If you cook dishes using products neither preserved nor processed by the food industry, you will notice wonderful awakening of the body. The mind is sharp, you sleep better, digest better and feel more active and vital. Your skin also looks better: more moisturized and less scarred.
Besides, many alkaline foods contain antioxidants that protect against free radicals that can cause damage to cells in our bodies.
Sounds like magic hidden in food!
That’s why today I want to share with you my first plant-based, non-bake alkaline bread recipe! It's simple, delicious, and requires no baking skills whatsoever.
But the benefits of eating alkaline go even further. Foods rich in natural fiber, vitamins, minerals, and enzymes—like the whole grains and seeds often used in alkaline recipes—help create a healthy environment in the body. High-fiber breads made with whole flours (like rye or Kamut) can help keep your blood sugar steady, which is great for energy and focus throughout the day. Keeping blood sugar balanced also makes it easier to manage weight if that's one of your goals. And, as a bonus, fiber supports regular digestion and helps keep your digestive system clean and happy.
It might sound like magic hidden in food! But truly, nature’s simple ingredients can make a world of difference for body and mind.

Non-Bake Alkaline Bread Recipe
This recipe is great for those who don't have much time to spend in the kitchen or even for those who don't have a lot of money (yes, students, I'm talking to you!)
This bread is simply made of rye and Kamut flours, water, and salt. These ingredients are great for this kind of recipe because they give us a lot of energy and increase the sensation of satiety.
Why Kamut Flour?
You might be wondering: why kamut flour? Let me tell you—it’s become one of my favorite ancient grains, and there’s good reason for that.
Kamut is celebrated as one of the oldest grains known to humankind. It brings a naturally rich, nutty flavor to anything you make with it, but there’s more to the story than just taste. Kamut is prized for its anti-inflammatory properties, making it a fantastic alternative to modern wheat if you’re looking to give your digestion a gentle, nourishing boost.
Because kamut flour is lower in gluten and hasn’t been genetically modified, it tends to be easier on the stomach for many people. It’s also packed with nutrients, including protein, minerals, and antioxidants that support overall wellness—just the kind of wholesome ingredient you’d expect in a bread that’s all about health and simplicity!
Paired with rye, this ancient grain creates a dough that’s satisfying, hearty, and perfect when you’re short on time but still want to fuel your body with something truly nourishing.
Pure, Simple, and Mindful Ingredients
One of the best parts about this bread? You won’t find any refined flours, added sugars, dairy, soy, corn, gums, artificial colors, flavors, preservatives, or chemicals in the mix—nothing but whole, plant-based goodness. The ingredient list is refreshingly short and completely free from the usual industrial extras. This is true comfort food, made intentionally with just what your body recognizes and needs. Great recipes don’t need mystery ingredients; only what nature gives us, pure and simple.
Is This Bread Vegan and Free from Common Allergens?
Absolutely! This recipe is completely plant-based and designed to be as inclusive as possible. There are no animal products, so it’s 100% alkaline. You also won’t find any common allergens like dairy, soy, corn, or added gums hiding in the ingredient list. There’s nothing artificial—no preservatives, colors, or funky additives you can't pronounce.
Instead, the focus is on simple, ancient grains and wholesome, real-food ingredients. Everything in this bread is there to nourish you and fit into an alkaline diet, supporting a holistic approach to wellness.
You might be wondering, what exactly is kamut and why have I chosen it for this recipe? Kamut, also known as Khorasan wheat, is an ancient grain that dates back thousands of years—long before the days of modern wheat hybrids. It has a naturally rich, buttery flavor and a gentle sweetness that works beautifully in bread.
But kamut isn’t just about taste. Unlike most typical wheat on supermarket shelves, kamut is naturally non-GMO and contains less gluten, which many people find easier to digest. Studies suggest it may have anti-inflammatory properties, making it a friendlier choice for anyone sensitive to regular wheat. When I use it, I always seek out wholegrain kamut flour, which means more nutrients and fiber in every bite.
Most importantly, I love kamut because it brings together nourishment and tradition—a little taste of history right in your kitchen.
Now, let’s dive into the ingredients you’ll need for this recipe.
Ingredients
For this recipe, we will need:
- 50g rye flour
- 150g kamut flour
- 100g spring water
- 4 teaspoons sesame oil
- A pinch of salt
- Optional crushed nuts or seeds (sesame, walnut)
- Optional flavors (oregano, sage, or dried peppers)
Equipment
- Large mixing bowl (glass)
- Cast-iron griddle pan, frying pan, griddle, or grill
- Wooden spoon or wooden chopsticks
Method
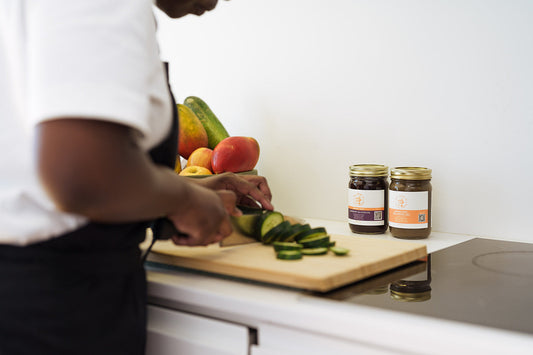
- Mix the flours with salt using chopsticks or a wooden spoon. This step is important because once the other liquid ingredients have been added, the dough will come together much easier if it’s pre-mixed when dry.
- Now add the sesame oil and gradually add the water, until an even, firm and consistent dough is formed. It should come together as a ball and not be sticky (get your hands into the bowl after mixing it first).
- At this point, add any optional extras like nuts and seeds or scent the dough with herbs. I added a little fresh oregano, picked straight from my garden. Cover with a damp cloth and let it rest for about 15 minutes.
- Allowing the dough to rest gives it more structure, but if you can't do this then feel free to use the dough immediately, the bread will still taste lovely!
- Once the dough has rested, knead it lightly into a big ball, stretching it back and forth a little and ensuring all the ingredients are combined and brought back into the mixing-bowl.
- Now divide the dough into small round ‘buns’ keep them small, about 1 ounce each.
- Heat a griddle, grill, or frying pan to ‘bake’ your bread. We will not use the oven for this recipe, but a pan, which makes it much easier and quicker to make.
- Flatten the breads using the palm of your hand into thin rounds that look like flat pizza’s or Indian roti.
- Depending on your pan you may need to add a small amount of approved oil for cooking (a heavy cast-iron pan or griddle wont need any oil).
- Cook the flat-breads individually for just a few minutes on each side until you smell the delicious bread smell (scent is an excellent way to determine when things are cooked!).
- Turn over and cook the other side until crisp and golden-brown.
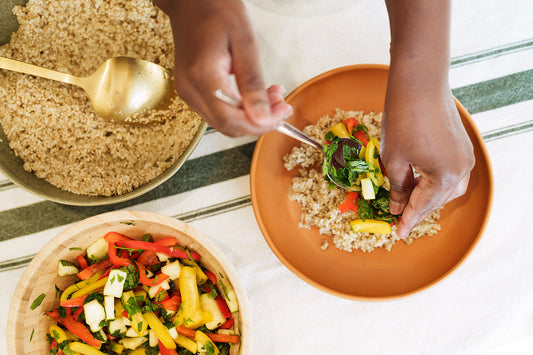
- Cool slightly then serve with your favorite dips, transform into a pizza, enjoy with salad, soup or any other delicious combination of tastes, textures, and flavors.
Now you have bread! It was very easy to make, there was no need to turn on the oven and the ingredients used are all nutritious. You can experiment with adding different herbs, flavors, spices and sizes. The flat-breads are ideal for wraps, tortilla, sandwiches, pizza, and all manner of hand-held and dipping delights!

The Finished Result
As I finished baking the bread, the scent of the herbs I added to the dough made it even more appetizing, filling the whole house with a great smell that would make my neighbors envious.
Although the fragrance will be irresistible, I recommend letting the bread cool a little before tasting them, don’t rush! What will you have with yours? You can keep them in the fridge for a couple of days and pop into a toaster or put under the grill to crisp up again.
The breads are very versatile, will soak up flavors and are perfect to batch cook and make packed lunches. The best thing since sliced bread is alkaline bread.
I hope you enjoy this recipe! I would love to see how yours comes out, feel free to share your delicious photos on our social channels.


1 comment
Klingt sehr interessant
Werde es ausprobieren